Friday, 12 July 2013

Easy-Peasy Squidgy Loaf

Not exaggerating at all when I say this loaf is easy-peasy - once you've got the ingredients ready, all you really do is dump them all into a big bowl, give it a couple of stirs, then into a loaf tin and to the oven it goes. This is also, quite accidentally, perhaps the healthiest baked item to ever appear on this blog - no butter, no eggs, hardly any sugar, plenty of fibre. It makes me think of a homemade version of Soreen. That probably makes it sound like really boring, but well, it's not! It's packed full of flavour from the dried fruits, and goes especially well with butter. 

The inspiration for this came from baking buddy Yusuf, who has published the original recipe on his Snapguide thingo. It sounded so yummy and I was all proud of myself for getting a bag of coarse wheat bran to make it, then I got home and looked through the cupboard and realised I didn't have the essentials - stuff like self-raising flour, muscovado sugar and...oh yes, he also said 'bran flakes' not 'wheat bran'. Turns out I'm not very good at reading through something before jumping straight in. This is how accidents happen. 

Anyway, I was much too lazy to go back to the shops to get the right stuff - and doing things the 'right' way is so boring and I'm my own boss! - so I decided to make do. And it turned out pretty tasty if I say so myself. Just don't tell Yusuf. 
Squidgy Malt Loaf (inspired by Deco Reco's Raisin Malt Loaf)

Ingredients
300 ml milk*
200gms dried cranberries**
25gms candied ginger
150gms plain flour
pinch of baking powder
pinch of bicarbonate soda
100gms caster sugar***
50gms malt extract****
1 tsp ground cinnamon
1 tsp nutmeg
lemon zest and juice (optional)

Directions
- Preheat oven to 160 degrees. Grease and line a loaf tin.

- Into a large bowl, add the milk to the wheat bran and set aside for a few minutes so the bran soaks up some of the milk. Add  the cranberries and ginger to the mixture, before adding in the sugar. Add your spices and the malt extract, and finally, add the flour. Fold it all together with a wooden spoon. If using, add zest and juice of lemon now.

- Transfer the mixture to the loaf tin and smooth the top of the mixture down. Bake for 45 minutes, then switch the oven off and leave the loaf in the oven for another 30 minutes. Take it out and let it cool down, or slice and serve straightaway (with butter!).

Some notes
*The original recipe has whole milk in it but I used some rice milk, and you could probably even make do with water too if you haven't got any.

**The cranberries were soaked in hibiscus tea for about half an hour until they plumped up. Of course, I understand not everyone has easy access to multiple packs of dried hibiscus petals, in which case you can simply use just-boiled water or your favourite tea. I used hibiscus tea because I like the slight sourness it imparts.

***Optional - I've left it out on my next few attempts and the loaf has been fine, just not as sweet and a tiny bit less squidgy.

****Can be replaced with honey, or golden syrup or treacle or some other viscous syrupy item of your choice. 


Sunday, 23 June 2013

Some Cards

When it gets quiet at the Tea Rooms, out come my scissors and glue for a bit of cut-and-paste action. 

Friday, 21 June 2013

Sweet Potato and Purple Potato Gratin


No need to adjust your colour calibration - some of the potatoes here are indeed purple. If you need to impress anyone, this dish will certainly do it. The contrasting colours and rosette-like appearance pack a punch when brought to the table in its baking dish, and it looks more complicated than it really is. In fact, if you have a mandolin, it can all be prepared in mere minutes. Just be careful not to slice your fingertips off - nobody wants bloody fingertips in their portion of gratin.

The dish was inspired by two events in close succession - the discovery that our local supermarket sold purple potatoes, as well as our recent purchase of Ottelenghi: The Cookbook from a secondhand bookstall in Greenwich Market. Ottolenghi's version calls for just orange sweet potatoes, but I decided we could possibly do one better. If you can't find purple potatoes, than 50% normal potatoes and 50% percent sweet potatoes, or even 100% sweet potatoes, would do just as welll. 
Sweet and Purple Potatoes Gratin 
(adapted from Danielle's Sweet Potato Gratin in Ottolenghi: The Cookbook)

Ingredients
about 750gms purple potatoes
about 750gms sweet potatoes
5 tbsp sage (roughly chopped), plus extra for garnish
6 garlic cloves (crushed)
2 tsp coarse sea salt
1/2 tsp black pepper (freshly ground)
250ml whipping cream

Directions
- Preheat oven to 200 degree C. Wash the potatoes but leave them unpeeled. Slice them into discs roughly 5mm thick.

- Mix the potatoes, sage, garlic, salt and pepper together in a large bowl. Arrange the potato slices in a medium-sized baking dish by taking stacks of them and packing them next to each other*. Any any remaining bits of garlic and sage from the bowl to the potatoes. Cover the dish with foil and roast for 45 minutes. 

- Remove the foil and pour the cream evenly over the potatoes. Roast, uncovered, for another 25 minutes. The cream should have thickened by the end of the cooking time. 

- Garnish the dish with sage, and serve immediately. 

*I arranged the potatoes by placing them first along the outer ring of the dish, then working inwards, to create the rosette shape. There's no need to be too precious about placing the different colours one of top of the other.

Friday, 31 May 2013

Folksy Summer

Good morning, world! I was just browsing Folksy when I realised that something on the front page looked very familiar - it took me about 5 seconds to realise that my navy blue Amelia bloomers had snuck in an appearance too! Those of you on Pinterest can see it over here too - Folksy Summer.

Wednesday, 29 May 2013

Bags Of Bagels

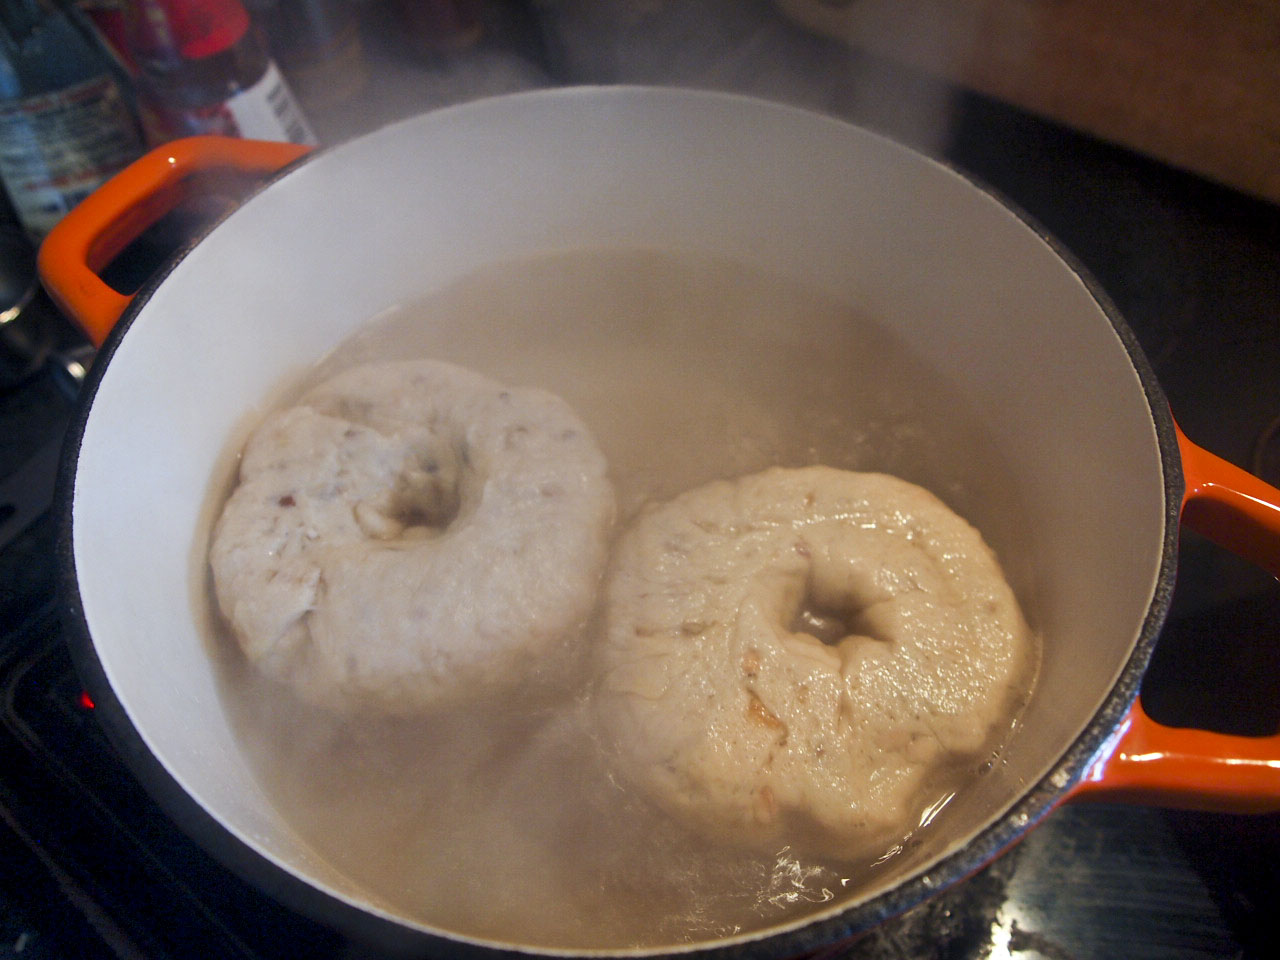
I blame Ai for this, I really do. If you follow her blog, you'll have noticed that she has been baking some rather delicious looking bagels over the past couple of months. Her photos of her glossy, nicely-shaped bagels brought on a rather inexplicable bout of industry in my kitchen - I simply had to make some bagels for myself!

There are plenty of recipes out there in Googleworld, so I won't write one down here. My friend Deco Reco  swears by Smitten Kitchen's recipe, which takes two or three days to prepare. I'm much to impatient for that, so I prefer to use this recipe from The Sophisticated Gourmet as a guideline for quantities and times, with the addition of a second proof after shaping the bagels. 

The most fun part, I think, is the shaping. Some people roll the dough into little cylindrical tubes, then join the ends neatly together (like so). I prefer to roll it into a ball, then poke a flour-covered finger through the middle, and twirl it around my finger a few times to enlarge the hole (scroll down to about the middle). More fun than you imagine. 

So far, I've made bagels with rye flour, with 'farmhouse' flour (with added grains and seeds), with plain white bread flour, with cranberries and walnuts, with caraway seeds, sesame seeds, sea salt, and even fancy grey sea salt. Whatever the flavour, they've all tasted wonderful fresh out of the oven, with butter melting through it. I also like them with some mascarpone and honey, for when I'm being all hedonistic. They've all been a lot chewier than the shop-bought versions, and you get the satisfaction of people looking all impressed and stuff when they find out you've made your own bagels. There's a good reason to make your own bagels if ever you needed one. 

Friday, 24 May 2013

Black Poppy - Refashioned Floral Dress

The original dress (plus some wrinkles)

This dress, like so many of my other refashioned items, was found in an op-shop (for the bargain price of £2.99! I love Salvos!), and originally from Marks and Spencers. I loved the print and drapey fabric, and the bodice evoked 1940s dresses with its double-breasted opening. Unfortunately, it was a size 16, and way too long for me - the skirt went down to my ankles. The shoulders were also much too big, and padded as well, for full 1980s effect.
Out came my trusty seam ripper, and off went the sleeves and skirt. There was some elastic along the waist, so I gently unpicked that too, and saved it, just in case. I started by adding some bust and waist darts, and then took in an inch along each side seam, to bring in the bodice and make it a closer fit. The shoulders were still too big, so I cut off an inch at the top (narrowing it down to nothing at the bottom of the armscye). This of course meant the sleeves were a little too big when I tried to set them in, so instead of gathering and easing it in, I added two little pleats to the top of the sleeves. You can see how that turned out in the photo above - I'm quite pleased with it, although of course it means I have to iron them down after every wash.
After that, everything else got done fairly quickly and smoothly. I gathered the skirt and attached it back to the bodice, then reattached the elastic that I had unpicked from the dress earlier. The belt was still much too big though, so I added a couple more holes with the help of my trusty eyelet kit. I found mine in an op-shop, but you can find a similar kit here - trust me, it's more useful than you think it will be. 

The only thing left was to shorten the skirt. I briefly considered leaving it long, as I'm partial to a good mid-length skirt, but this just looked a little too mumsy for my taste. So I ended up taking a good EIGHT inches off, which left it at a nice just-above-the-knee length. Job done, and it's quickly become one of the dresses I reach for whenever I want to feel just a little bit (not too much) dressed up.