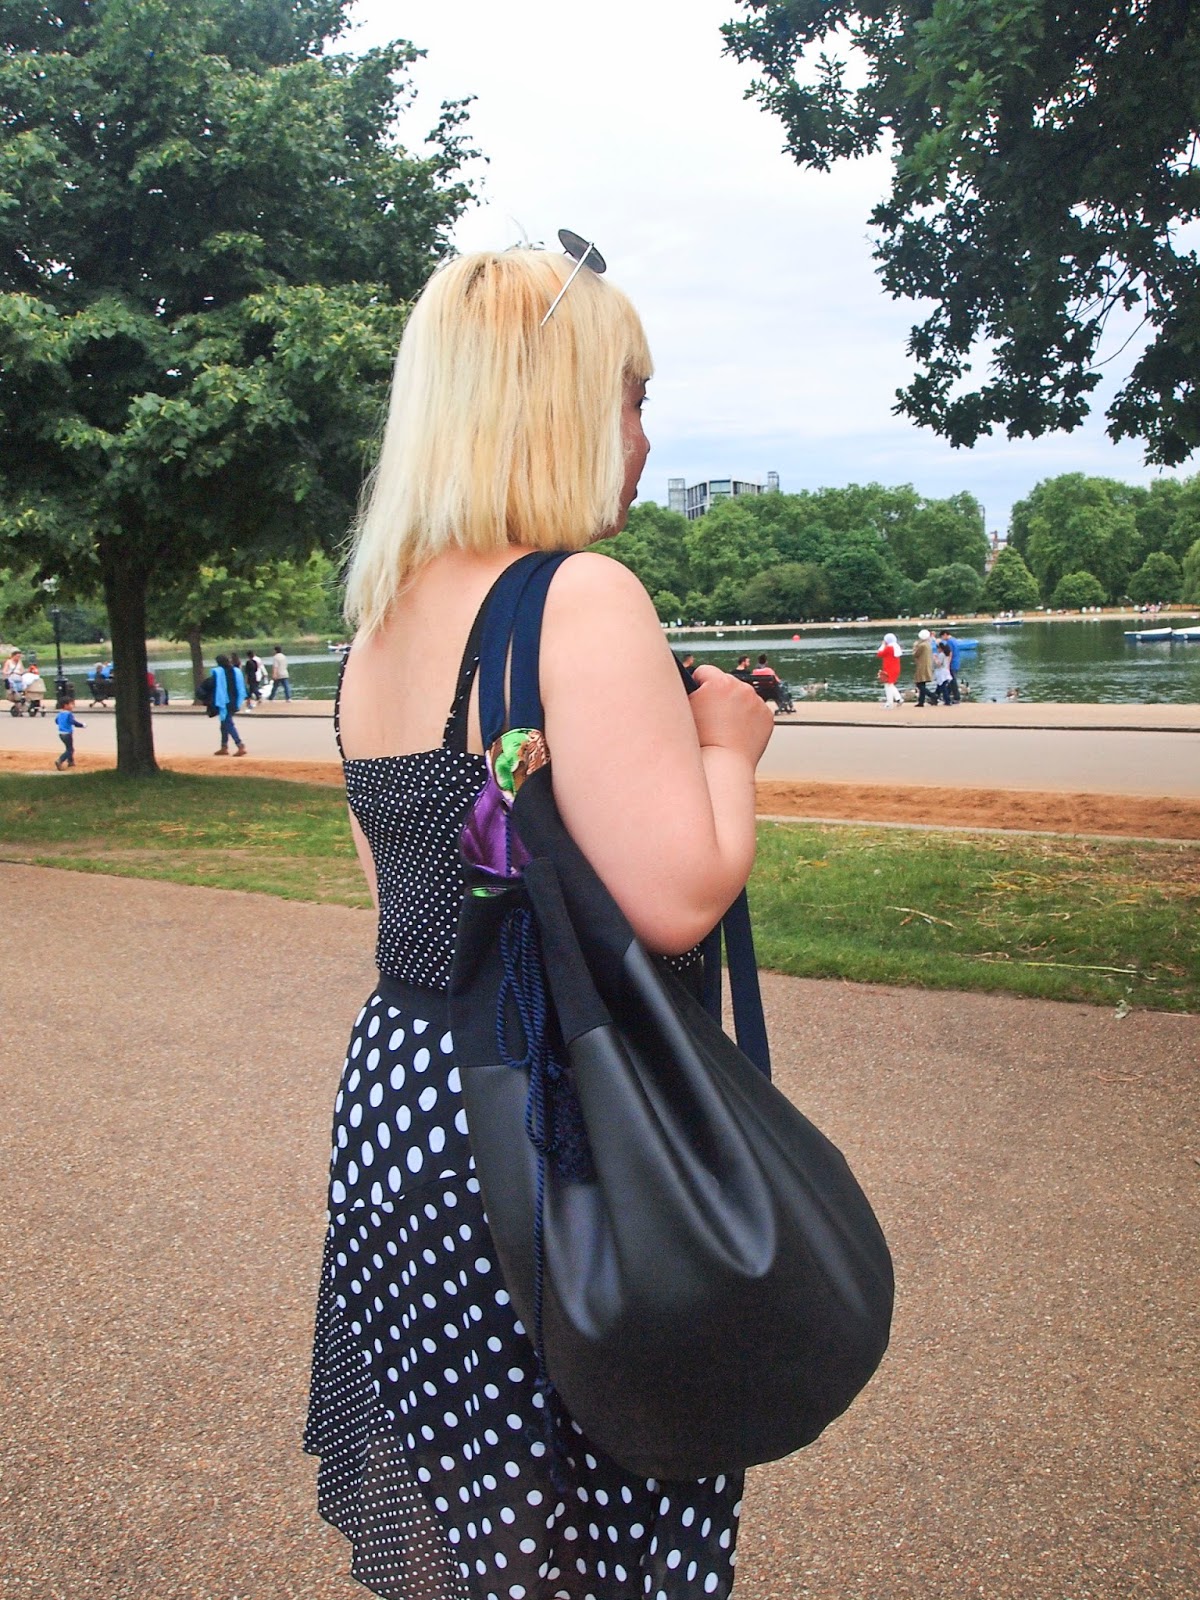
The temptation to sew my own bags hit me hard about a year ago, but I tried to resist, until, one fateful night about six months ago, what should I find on ebay but a copy of McCall's 9261. It included about 7 patterns, mostly for simple tote bags, but what really caught my eye was the military-style bucket bag on the cover. All that for only 60p, because the seller's dog had taken it for a chew toy. Two clicks and it was mine!
I wanted a hard-wearing bag that wouldn't clash too most of my clothes, so I dug out a piece of black faux leather that a friend had given me a while ago. The leather was just long enough, but alas, not wide enough for the bag. What to do? A quick dig through my stash and I found a leg from some old black jeans - it turned out to be wide enough to make up the missing height, and made a nice textural contrast against the black leather.
The pattern itself is fairly simple - two large rectangles for the bag and lining, and two circles for the base of the bag and the lining. There's also one smaller rectangle for the pocket, which I placed inside, on the lining fabric, instead of front and centre as in the illustration. The other change I made was to add two straps, so I could wear the bag on both shoulders (more comfy this way!), instead of one strap across the body. I cut the straps out of some lovely dark blue suede that was purchased from an op-shop last year.
The lining fabric - which you can see peeking out in some photos - is a very polyester-y, 1960/70s upholstery fabric that I got for free (FREE!) when a friend of a friend was destashing and moving to faraway lands. It was a nice loud floral, very emblematic of it's era, but I had qualms about using it in something wearable, because, urgh, so plasticky. It made a nice contrast to all the black and blue on the outside and was a nice, heavy weight. The pattern also suggested interfacing the fabric, but I skipped it because the denim was thick enough, and also, laziness.
It all came together fairly quickly, mostly straight lines except for having to sew the round base to the tube of fabric to form a bag, but even that was pretty straightforward once I neatened up the edges of the circles. The machine did groan a little when going through double or triple thicknesses of denim and leather, but I just told it to shut up, used a leather needle and sewed very slowly. I also topstitched everything, in an attempt at a professional, finished look.
The longest, and perhaps most annoying bits, were having to insert the grommets into the top of the bag for the drawstring closure. The grommets required were pretty big, about 15mm wide, and I had to be very careful and make sure I didn't tear the fabric too much so they popped out and left a big hole in the bag. Which, when all you want is to go the park with your new bag, is very frustrating. I used a awl (the sharp point thing, not an owl, the bird) to make the initial hole, then widened it slowly with a variety of sharp implements, carefully pushing the threads aside instead of cutting through them. Then, when it was wide enough, I had to hammer the grommet in, making sure no sharp metal bits stuck out. The first one took me about half an hour to insert, I kid you not. I think I managed to get it down to about 7 minutes per grommet towards the end, but dammnit, that was a long afternoon.
Sunglasses - Shotgun Wedding at The Tea Rooms, Brick Lane
Dress - from Hong Kong (about 15 years old)
Bag - Self-made
Boots - H&M (about 3 years old)


Great bag, I love a destash project so much!! The lining is my favourite part, though. I would have made the straps from it!
ReplyDeleteThank you! It's been so useful! I did think of using the lining fabric, but it was slightly too flimsy. Still have a bit of it left so maybe a clutch with the leftovers?
Delete