If you're like me and do a fair bit of wheelin' and dealin' on the interwebs, you probably end up with lots of used, padded envelopes piled up precariously too. The little recycled padded envelopes shown here can be made in various sizes, don't take much time to whip up, and won't cost you any money at all!
You'll need:
Large padded envelopes
Scissors (DO NOT use your best fabric scissors!)
Glue (I used Copydex, nut you can use any kind of paper glue)
Scrap paper (Magazines, catalogues, wallpaper, newspaper etc)
Sewing machine
Thread
Sewing needle (if you haven't got a sewing machine)
Here we go!
1) You'll need to transform this huge padded envelope (above) into this (picture below). Start by splitting the front and back of the envelope apart, so you get 2 pieces of padded goodness. Then, fold the separated parts into halves or quarters, depending on the size you want to end up with, and cut them up into into 2 or 4 parts. Those will be the front and back bits of your new and improved, little padded envelopes. Trim the bit that you'll use as the back so it's about an inch shorter than the front - this way, the longer portion forms a flap that you can simply fold over and tape when you need to post something.
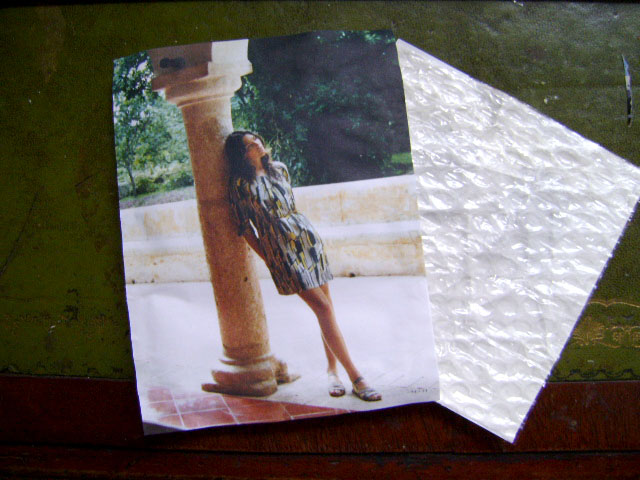
2) Still with me? Ok, good. Now, get the scrap paper that you want to use on your envelopes, and trim them so they're just slightly larger than the padded pieces. This makes it easier to glue them on. Put glue on the front of the padded pieces (the side with the paper, not the bubble-wrap).You don't need to glue the whole piece, just a dab on all for sides will do, then stick them onto the back of the scrap paper. Trim the overlapping paper bits away, so the edges are all flush.
Do the same for all your padded pieces.
3) Let the glued pieces dry (overnight is best, but at least 4 hours if you're in a hurry). This is so the glue doesn't make your sewing needle all sticky.
Time to sew. Set your machine to a zig-zag stitch (if you haven't got one on your machine, just go over it a few times).
Place the front and back envelope pieces together, wrong sides (i.e bubble-wrap sides) facing each other. Turn it around so the shorter, back side faces you, and start sewing. You'll only need to sew around three sides, leaving the top open so you can slip your goodies in later. Backstitch a couple of times at the beginning and end, and at the corners of the envelope, to make it more secure.
4) Cut the hanging bits of thread off, and voila, you're done! Congratulations, young grasshopper, you've made a fancy little recycled envelope! Now go make more...
Tips and suggestions and other stuff - I made my envelopes fairly small (about 6 x 7 inches) but you can, of course, make yours any size you like/need. If you need a huge envelope, you can always just glue some scrap paper or newspaper all over it, and re-use it.
I used some pages from a Toast catalogue for the example above, and some pages from a travel catalogue for the others. You can use any kind of paper you have laying around - newspapers, wallpaper, wrapping paper, whatever. If you're going to pop these into the post, it may be a good idea to leave the front fairly plain, and make the back a little fancier, so it's not too distracting for the postie.
If you haven't got access to a sewing machine, or you're simply not up for abusing your machine like I do, you can always sew the sides up using a needle and thread. I think a nice blanket stitch would make it fairly secure, and you can use some yarn or embroidery floss for something a little fancier. It takes a little more time, but at least your sewing machine won't be making any angry noises.


Well done, very nice tute. If only we'd had you instead of crazy old ladies in art school ;)
ReplyDeleteMaybe at craft school.
Thanks Sunno, that's your package of yarn in the 2nd photo. Etsy should hire me for their 'How-Tuesday' guides!
ReplyDeleteThis comment has been removed by the author.
ReplyDelete